Written by:
Pierce J.
Published:
July 16, 2026
Learn how to move a craft room the right way — from sorting supplies and packing small materials to protecting furniture and setting up your creative space at your new home.
Knowing how to move a craft room is something most people do not think through carefully until they are standing in front of a pegboard wall covered in hundreds of tools, a cutting table that was assembled inside the room and will not fit back through the door, seventeen bins of fabric sorted by color, a Cricut machine still plugged into the wall, and three drawers of mixed embellishments that will take hours to sort if they get jumbled together in transit. A craft room looks manageable on the surface — after all, most of the items are small. Get close enough to start packing it and the picture changes fast. Small items multiplied by hundreds become enormous packing projects. Specialty tools are irreplaceable and fragile. Custom storage systems that work perfectly in one room may not translate to another. Understanding how to move a craft room means approaching it with a real plan before a single bin comes off a shelf.
This guide walks you through how to move a craft room from start to finish: how to audit your supplies and equipment before you pack a single thing, how to sort and contain small materials without losing anything, how to protect specialty machines and tools in transit, how to disassemble and move large furniture pieces like cutting tables and storage units, and how to get your creative space set back up at your new home so you can get back to work without weeks of chaos. Whether your craft room is a dedicated studio packed with a sewing machine, a die-cutting machine, a full bolt library, and custom cabinetry, or a shared office corner with a few bins of supplies and a small work table, these steps will carry you through the move without the disorganization, damage, and frustration that craft room moves so often produce.
Before you pack a single bin or wrap a single machine, spend real time evaluating everything in your craft room. Craft supplies are among the most reliable sources of unnecessary moving weight in any home. Materials accumulate quietly — purchased for projects that were never started, received as gifts, held onto because they might be useful someday, or duplicated without anyone noticing. Moving all of it by default costs real money in boxes, packing materials, labor, and truck space. The audit is where you recover that cost before anything leaves the room.
Consumable craft supplies — paint, glue, adhesive sprays, glitter, ribbon, yarn, fabric scraps, washi tape, and similar materials — are often the biggest culprit when a craft room move becomes overwhelming. These items are inexpensive to replace, easy to damage in transit (particularly liquids and aerosols), and genuinely not worth the effort of packing if the quantities are small or the quality has degraded. Go through every container, every bin, and every drawer. Dry markers, cracked paint, half-used bottles of adhesive that have begun to separate, yarn with no matching skein — all of these are candidates to discard or donate before anything is boxed. Moving only what you will actually use is not just good decluttering practice; it is also sound economics.
Large craft equipment — sewing machines, embroidery machines, die-cutting machines, laminators, cutting plotters, heat presses — should be evaluated honestly before you assume they are all worth moving. Equipment that is outdated, rarely used, or already showing mechanical issues may cost more to move and reassemble than to replace with a newer model. Make a list of every piece of equipment in the room, note its current condition and how recently it was used, and make a deliberate decision for each item before moving day rather than defaulting to moving everything by habit.
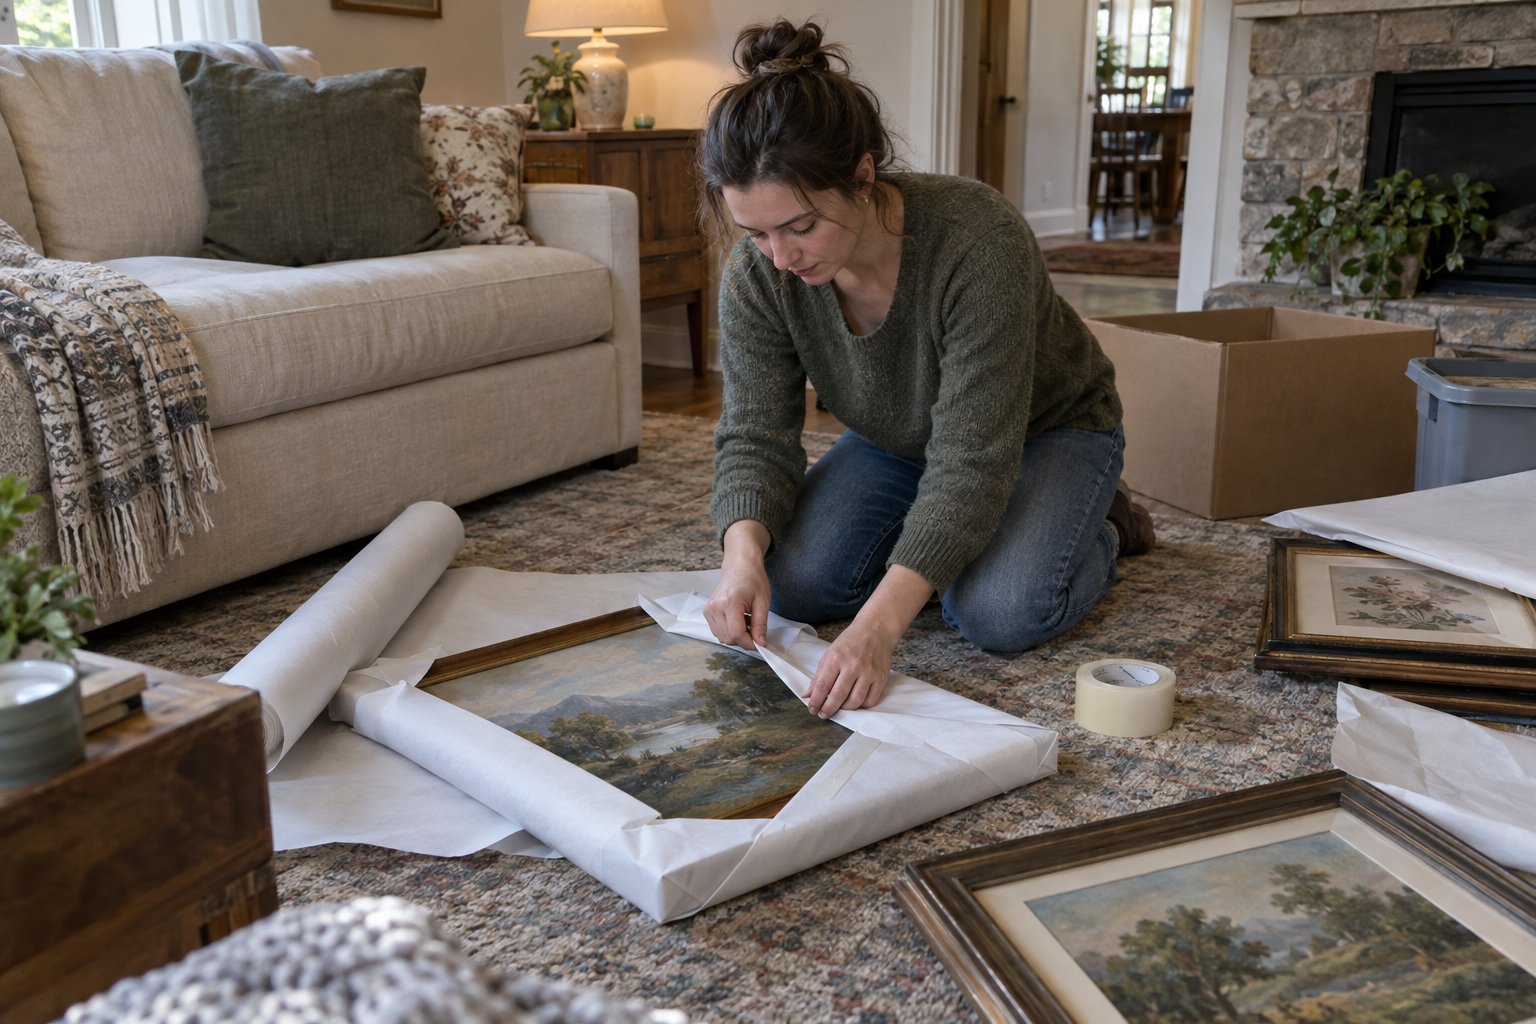
Fabric, cardstock, scrapbooking paper, vinyl rolls, and similar sheet goods are heavy, bulky, and easy to damage if not packed carefully. Go through your collection before the move. Fabric stored for years without a specific project attached to it is a prime candidate to donate to a local school, community center, or arts organization. Paper goods that are warped, faded, or incomplete are not worth the box space. Moving only the materials you have genuine plans to use within a reasonable timeframe will simplify your packing dramatically and reduce your moving costs.
The defining challenge of packing a craft room is scale. Most individual items are small — sometimes tiny — but the total count runs into the thousands. A single drawer might contain buttons, brads, eyelets, charms, and mixed embellishments that took months to curate. If that drawer gets dumped into a box without a system, you will spend hours sorting at the other end. The goal is to move your organization system intact, not to dismantle it and rebuild it from scratch.
If your supplies are already sorted into divided trays, small bins, tackle boxes, or drawer organizers, keep them that way during the move. Tape the lids of divided trays shut, or stretch wrap the entire organizer so nothing shifts. Pack the sealed organizer flat in a box with padding on all sides. The few minutes it takes to secure an existing organizer in place is worth far more than the hours you would spend re-sorting loose supplies after arrival.
When drawers or bins get packed into boxes, label them by category rather than by where they were located in the old room. "Sewing notions — buttons and snaps" is more useful than "top left drawer" when you are setting up an entirely different layout at the new home. Take a photograph of the inside of every drawer and bin before you seal it. These photographs are your map for reassembly and are far more reliable than memory when you are unpacking weeks after moving day.
Liquid craft supplies — paint, glue, ink, fabric dye — and aerosols — adhesive spray, fixative, spray paint — require extra attention. Check every cap and lid for a secure seal. Place liquid bottles upright in a zip-lock bag before boxing. Do not pack liquids in the same box as paper goods, electronics, or fabric. Aerosol cans should not be packed in sealed boxes that may be exposed to heat during transport — consider using them up before the move or discarding cans that are nearly empty. Label any box containing liquids clearly on the top and all four sides.
Specialty craft machines are among the most valuable and most vulnerable items in any craft room. A high-end sewing machine, embroidery unit, or die-cutting machine represents a significant investment, and damage in transit is difficult and expensive to repair. These items deserve individual attention and proper protection before anything else in the room is boxed.
The single best protection for any specialty machine is its original box and foam inserts, which were engineered specifically to protect that model in transit. If you still have original packaging for your sewing machine, Cricut, embroidery unit, or similar equipment, use it. If the original box is gone, use a box that is as close to the machine's dimensions as possible, and fill all empty space with foam padding or crumpled packing paper — not loose packing peanuts, which shift and leave the machine unsupported.
Before packing any sewing or embroidery machine, remove the needle and store it separately in a clearly labeled container. Remove any bobbin or thread spool, lower the presser foot, and secure the foot pedal cord so it does not snag during transport. For die-cutting machines, remove any loaded mats or materials and secure any moving rollers or arms according to the manufacturer's instructions. For large format cutting plotters or heat presses, photograph all settings and positions before disassembly so you can restore them accurately at the new location.
Any machine with a digital display screen — touchscreen Cricut models, computerized sewing machines, smart embroidery units — should have the screen protected with a layer of foam padding or a cut piece of cardboard secured in place before boxing. Do not place anything on top of a machine with a screen during loading or transit. Bundle all cords and accessories for each machine in a labeled zip-lock bag and tape it to the machine's box so nothing gets separated in the move.
Craft rooms often contain large, heavily loaded furniture — cutting tables, storage cabinets, IKEA Kallax or Expedit units packed with bins, pegboard frames, and rolling carts — that require specific handling to move without damage. The weight and size of these pieces, combined with the fact that many were assembled in place, makes them some of the most challenging items in the room.
A cutting table or large storage unit that was assembled inside the craft room almost certainly will not fit through the door without disassembly. Do not attempt to angle, tilt, or force assembled furniture through doorways — this damages both the furniture and the door frame. Disassemble these pieces following the reverse of the original assembly instructions, keep all hardware in labeled zip-lock bags, and photograph the assembled state before you take the first bolt out. These photographs and labeled bags will make reassembly far faster and less frustrating at the new home.
Every bin, drawer, and shelf in your craft storage furniture must be completely emptied before that furniture is moved. Moving a fully loaded Kallax unit or a rolling cart with bins still in it puts enormous stress on the joints and connections, makes the piece dangerously heavy to carry, and risks bins shifting and falling during transit. Empty everything, pack the contents separately and labeled by location, and move the furniture empty.
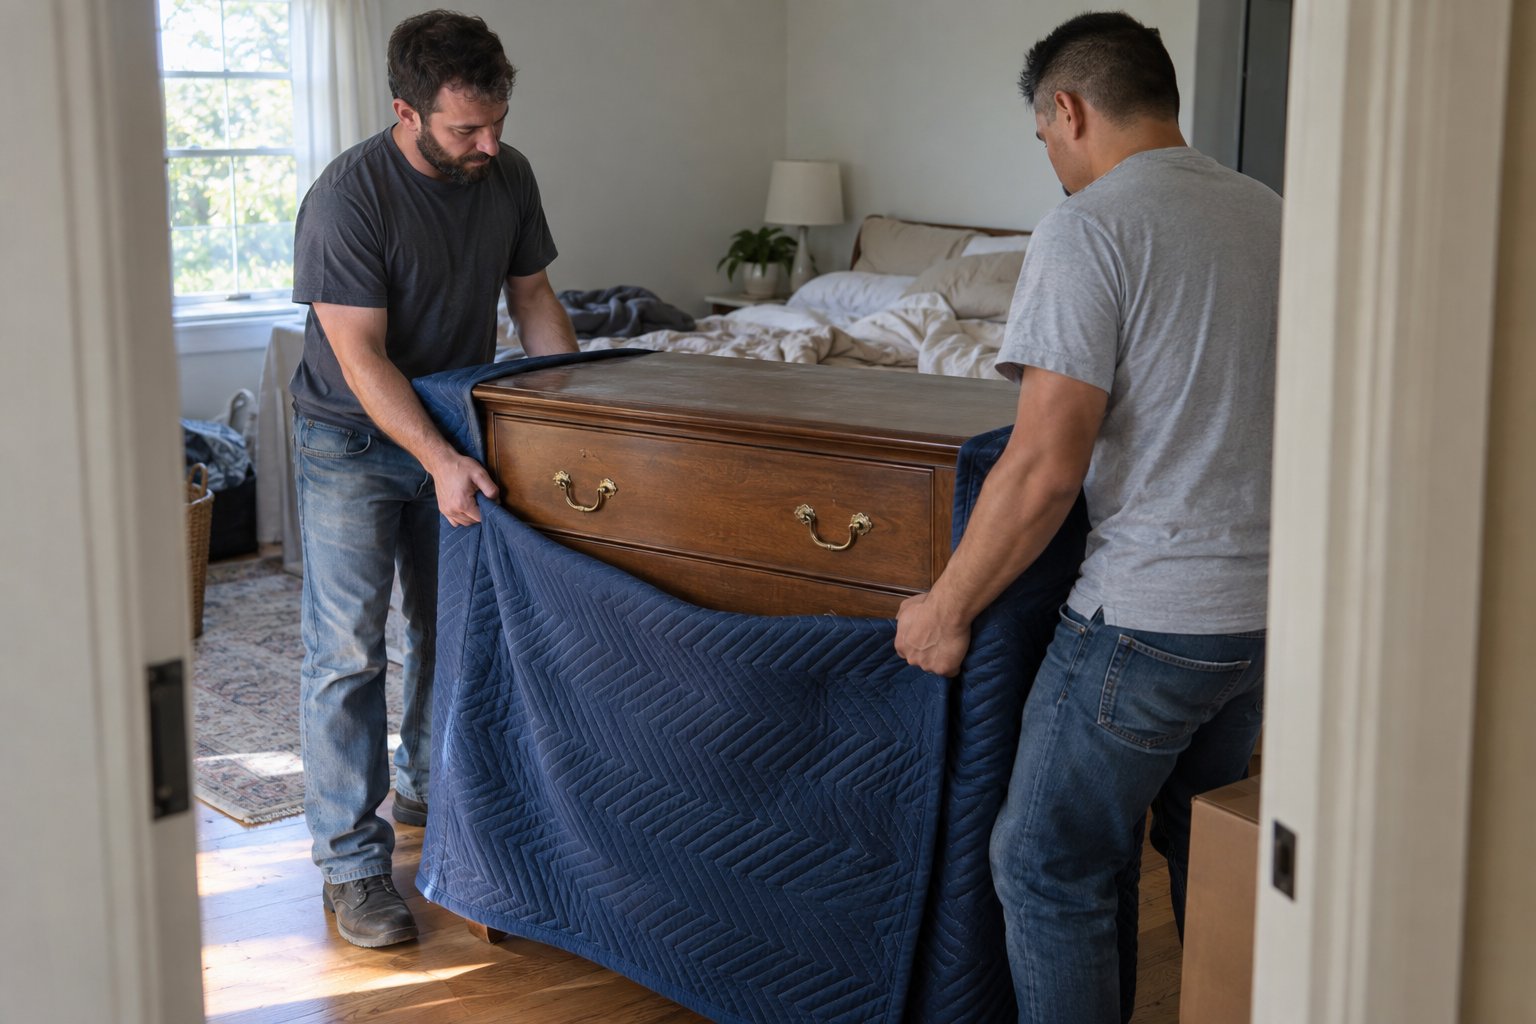
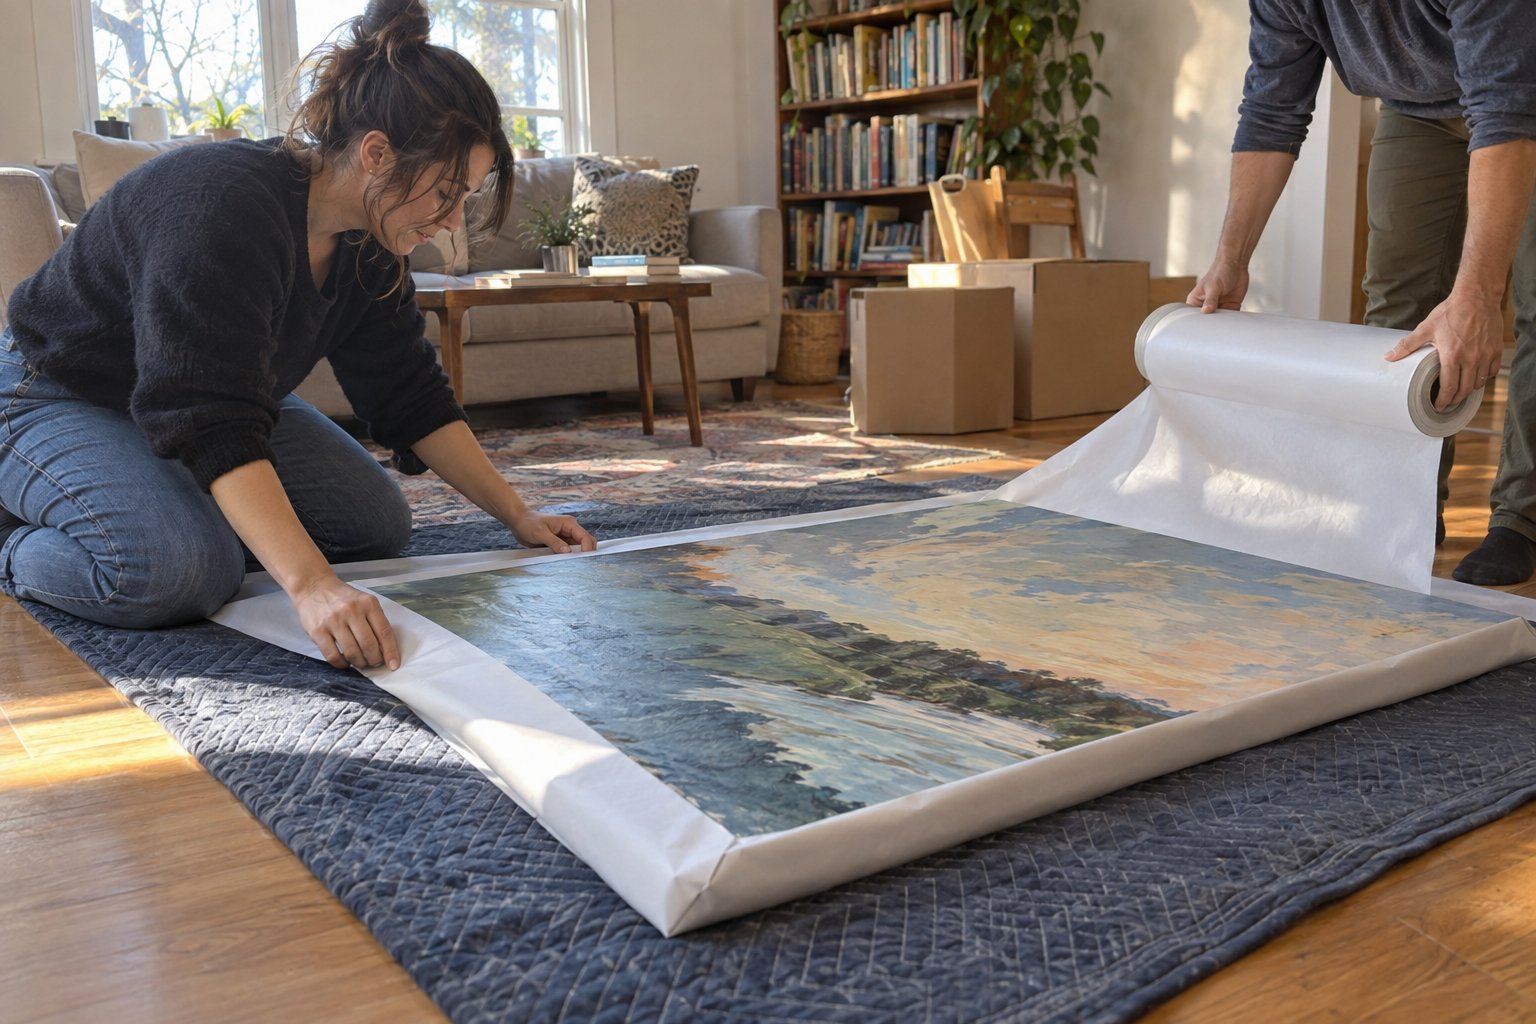
Pegboards and wall-mounted tool storage systems should be removed from the wall before moving day and transported flat. Remove all hooks and accessories first, keep them in a labeled bag, and wrap the pegboard in moving blankets to protect the surface. Large pegboards may need two people to carry safely. If your pegboard was painted or finished, take extra care to protect the surface from scratches during transit, as refinishing a pegboard is time-consuming.
The final phase of how to move a craft room is getting it functional at the new location — and doing it in an order that saves time and frustration. The temptation is to unpack bins as they arrive and put things wherever they fit, but that approach tends to produce a room that never quite gets organized properly. A deliberate sequence makes the difference between a craft room that is fully functional within a few days and one that remains a half-unpacked storage area for months.
Reassemble and position all furniture — cutting tables, storage cabinets, shelving units, rolling carts — before you open a single bin of supplies. It is far easier to decide where a piece of furniture belongs in an empty room than to rearrange it around boxes and loose supplies. Once the furniture is in place, install pegboards and wall-mounted storage before filling shelves. Having the structure of your storage system in place before anything goes into it is the fastest path to a functional room.
When the furniture is in place, unpack category by category rather than box by box. Bring all of the sewing-related boxes in, unpack them, and put everything away before moving to the paper crafting supplies. This approach keeps your organizational system coherent and prevents the jumbled, half-sorted state that makes a craft room feel permanently disorganized. Use the photographs you took before packing as your guide for where everything belongs.
Moving a craft room is genuinely demanding work — far more than most people anticipate when they look at a room full of bins and containers. The scale of the project, the fragility of specialty machines, and the organizational complexity of thousands of small items make it one of the more involved rooms in any home to relocate. Working through it methodically, starting with a real audit and ending with a deliberate setup sequence, is what separates a smooth craft room move from a weeks-long unpacking ordeal.
If you no longer have the original packaging, find a box as close to the machine's dimensions as possible — it should not be much larger than the machine itself. Wrap the machine in a moving blanket or thick foam padding, making sure the screen or display panel is protected by a flat piece of foam or cardboard. Remove the needle and store it separately, lower the presser foot, and wrap the foot pedal cord around the machine body. Fill all empty space in the box firmly with crumpled packing paper so the machine cannot shift during transit. Label the box clearly on all sides and keep it upright throughout the move.
You can, but you will pay for it on the other end. If mixed bins are moved without organization, unpacking becomes a multi-hour sorting project that is genuinely frustrating after an already demanding move. The better approach is to keep your existing organizers intact — tape or stretch-wrap divided trays and bins shut so nothing shifts — and photograph the inside of every container before sealing it. If you do not have time to photograph everything, at minimum label each box or bin by category. A little time invested in organization before the move saves significant time and stress during unpacking.
Aerosol cans should be handled carefully during any move. Most household movers will not transport flammable aerosols, and even non-flammable aerosols can be damaged or leak if exposed to high temperatures inside a moving truck. Before your move, check each can: if it is nearly empty or more than a year old, discard it and replace at the new location. For cans you plan to keep, seal them in a zip-lock bag, pack them upright in a box with ventilation, and label the box clearly. Do not pack aerosols with paper, fabric, or electronics.
Large cutting mats warp easily if stored on their side for extended periods or exposed to heat. For a move, keep cutting mats flat — lay them on a flat surface in the moving truck, not propped vertically. If you need to roll them, roll loosely and secure with a few rubber bands, never fold. Avoid storing mats in a moving truck during hot weather for more than a few hours if possible, as heat can cause permanent warping. If your mat is already warped from a previous move, try placing it flat under a stack of heavy books at the new home for a day or two to encourage it to flatten.
A craft room with a moderate amount of supplies and a few pieces of furniture can be a manageable DIY move if you plan well and have help. Where professional movers add significant value is with heavy, large furniture pieces — substantial cutting tables, multi-unit storage systems, or large freestanding cabinets — and with specialty equipment worth protecting carefully. If your craft room contains equipment valued at several hundred dollars or more, or furniture that was assembled in place and requires disassembly, having experienced movers handle those specific items reduces the risk of damage considerably. For the packing of supplies and small items, a careful DIY approach works well.
Whether you’re moving a home, apartment, office, or just a few heavy items, We Haul Nashville is ready to help make the process easier.