Written by:
Pierce J.
Published:
July 10, 2026
Learn how to move a laundry room the right way — disconnect washers and dryers safely, pack supplies, and get your laundry setup running fast at your new home.
Knowing how to move a laundry room is one of those moving challenges people put off thinking about until the day before the truck arrives — and that is exactly when it becomes a problem. A laundry room contains two of the heaviest appliances in the house, a collection of hoses and valves that require proper disconnection, a surprising amount of accumulated cleaning supplies and detergents, and in many cases a utility sink, folding tables, or storage shelving that nobody planned to deal with until the last minute. Get the laundry room right and your washer and dryer are running at your new home within a day of arrival. Get it wrong and you are dealing with water damage on the truck, a washer drum cracked from transit vibration, or a gas dryer connection that nobody prepared for.
This guide walks you through how to move a laundry room from start to finish: how to audit and reduce what you are actually moving, how to disconnect your washer and dryer correctly and safely, how to prepare both machines for transit so they arrive undamaged, how to pack and transport laundry supplies, and how to get your laundry setup reconnected and running at your new home without a week of delay. Whether your laundry room is a dedicated full room with stacked appliances and built-in cabinetry or a closet with a stackable unit and a shelf of detergent, these steps will carry you through the move without the water, weight, and mechanical problems that laundry room moves so often produce.
Before you touch a single hose or move a single appliance, spend time doing an honest audit of everything in your laundry room. The laundry room is one of the most reliable spaces in any home for accumulation — half-empty bottles of detergent, fabric softener purchased during a sale and never used, dryer sheets from three different brands, a collection of stain removers for problems no one can remember, and wire hangers by the dozen. Moving all of it by default costs real money in weight and time, and most of it is easily replaceable at your new home.
Liquid laundry detergent, fabric softener, and liquid stain removers are heavy, prone to leaking in transit, and available at any grocery store. Before you pack a single bottle, assess how much you actually have and how much is realistically worth the effort of packing it. A full, sealed container of detergent is a reasonable thing to move. A bottle that is one-third full and starting to thicken is not. Consolidate what you are keeping and discard or donate what is not worth the packing effort. Many community organizations and food banks accept unopened household cleaning supplies.
If your washer or dryer is more than ten years old and has been showing signs of trouble — slow draining, inconsistent heating, unusual sounds during cycles — a move is a reasonable moment to evaluate whether replacing it at the new home makes more financial sense than moving an aging machine. Moving a full-size washer and dryer requires specific equipment, time, and care. If the appliance was already on borrowed time, that calculation is worth making before moving day rather than after you have spent the effort moving it.
Disconnecting a washing machine incorrectly is one of the most reliable ways to introduce water damage to a moving truck. The steps are not complicated, but they need to be followed in the right order and completed at least 24 hours before the move to allow the machine to drain and dry fully.
Start by turning off both the hot and cold water supply valves behind the machine — these are typically the two valves mounted on the wall that the inlet hoses connect to. Once the valves are fully closed, run a final short wash cycle to clear any water remaining in the inlet lines, then turn the machine off before it fills. Disconnect the inlet hoses from the back of the machine by hand or with pliers. Have a towel and a bucket ready — even after the supply valves are closed, there is typically a small amount of water in the hoses that will spill when they are removed. Drain both hoses completely before setting them aside.
The drain hose, which typically hooks into a standpipe or utility sink, should be removed and drained as well. Lower the end of the drain hose into the utility sink or a bucket to let any remaining water empty out. If your machine has a built-in drain pump filter — common on front-load washers — consult your owner's manual for how to access and clear it. A surprising amount of water can remain in a front-load drum even after a cycle completes. Tilt the machine gently forward over towels to encourage any remaining drum water to drain through the boot seal before transit. Leave the washer door or lid open for as long as possible before the move to allow the interior to dry out fully.
Washing machine drums are suspended internally on springs and bearings that are not designed to absorb the vibration and impact of a moving truck. For front-load washers in particular, transit bolts — the shipping bolts that came with the machine when it was originally purchased — should be reinstalled before moving. These bolts lock the drum in place and prevent it from swinging freely during transit, which can damage the suspension system and bearings. If you no longer have the original transit bolts, they can often be sourced from the manufacturer or an appliance parts supplier using your model number. For top-load washers, securing the lid closed with tape and placing folded towels or blankets inside the drum to reduce movement is a reasonable precaution when transit bolts are not available.
Dryer disconnection depends on whether your dryer runs on electricity or gas. Both require specific steps, and a gas dryer in particular requires careful handling that should not be rushed or improvised.
An electric dryer connects to a 240-volt outlet via a four-prong or three-prong power cord. Unplug the cord from the wall outlet and coil it for transit — the cord typically stays with the machine. Disconnect the dryer vent duct from the back of the machine. Most dryer vent ducts attach with a hose clamp or a friction-fit collar. Remove it and clean any accumulated lint from the vent port on the machine itself before the move. Lint buildup in a vent duct can be a fire hazard and moving is a good opportunity to clear it. Tape the vent port opening on the back of the dryer so nothing enters during transit.
A gas dryer connects to a gas supply line via a flexible connector and a shutoff valve. If you are not experienced with gas appliances, this is the one step in a laundry room move where hiring a professional or asking your moving company to connect you with a qualified technician is the right call. The process involves closing the gas shutoff valve behind the dryer, carefully disconnecting the flexible gas connector, and capping or plugging the open gas line to prevent any residual gas from escaping. Once the dryer is disconnected, check carefully for any gas smell before proceeding. If you detect gas after disconnection, do not proceed — ventilate the space and call your gas utility. At your new home, gas reconnection should also be handled by a qualified technician unless you have specific experience with gas appliance connections.
Once disconnected, secure the dryer door closed with stretch wrap or moving tape applied to the body of the machine rather than directly to the finish. Tape the power cord to the back of the machine so it does not drag or catch during loading. The dryer vent duct — if flexible aluminum or foil — can be moved with the machine, coiled and taped securely. If it is rigid ductwork, it will need to be left behind or replaced at the new home.
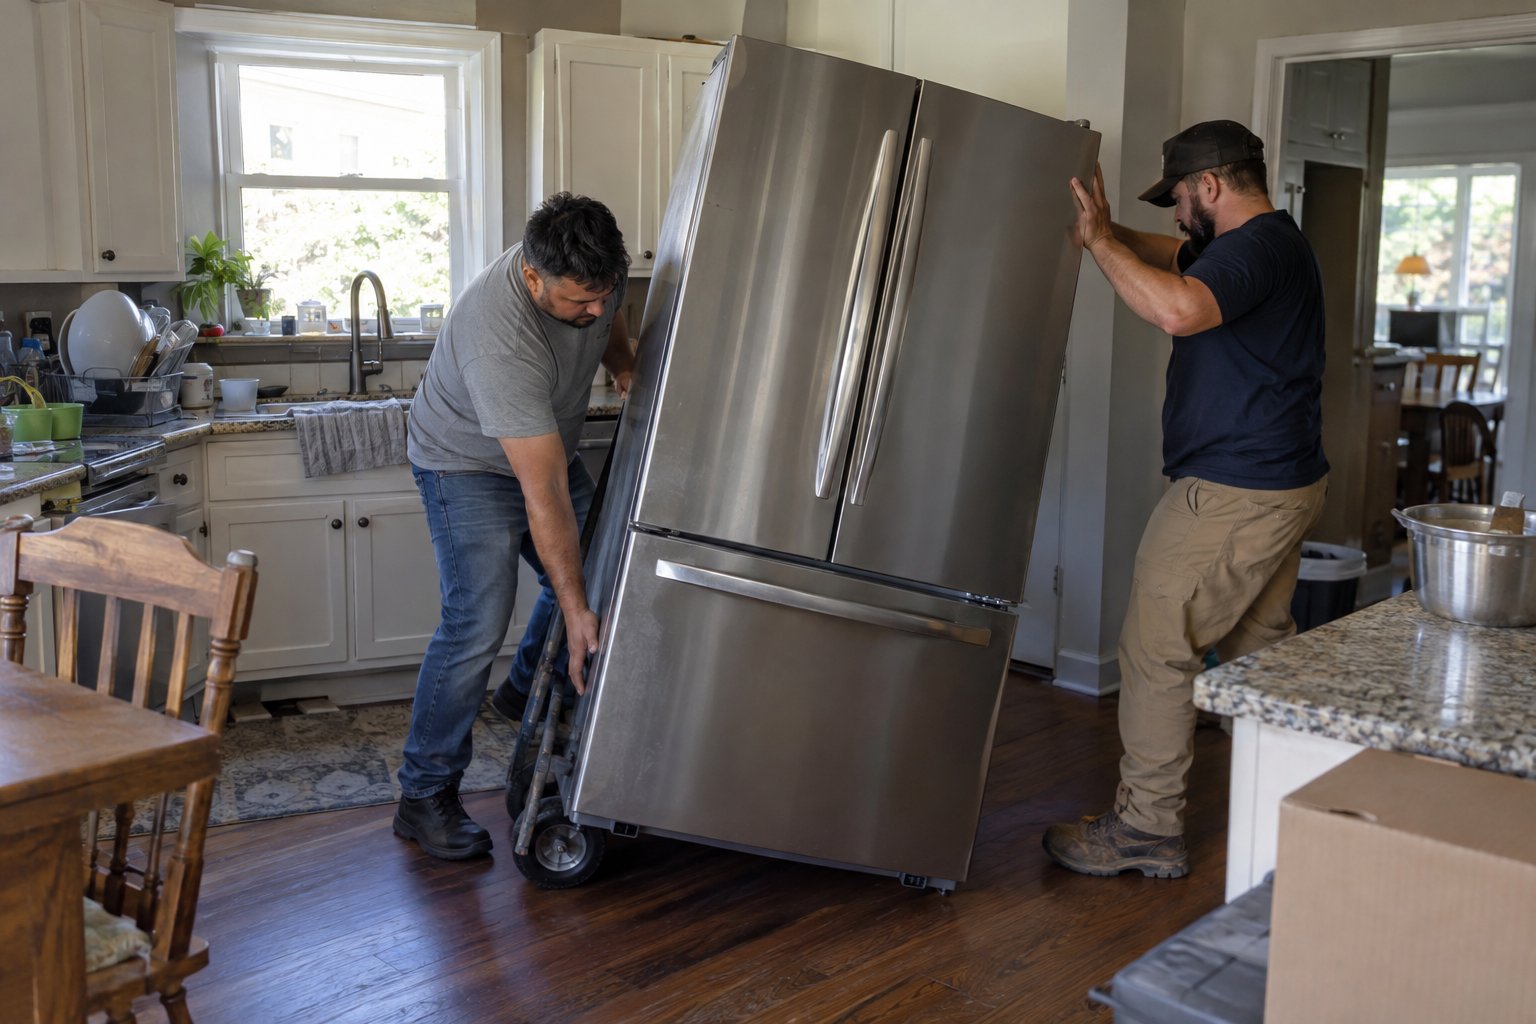
A full-size washer or dryer typically weighs between 150 and 250 pounds. Moving either appliance without proper equipment and technique is a reliable way to injure someone or damage the machine, the walls, or the floor. On moving day, both appliances require an appliance dolly — a heavy-duty hand truck with a back brace and a ratchet strap — not a standard furniture dolly.
Before the appliance dolly goes anywhere near the washer or dryer, walk the full path from the laundry room to the truck and remove every obstacle. Pull throw rugs, prop doors open and secure them, protect hardwood and tile floors with floor runners or cardboard, and identify any tight turns or door frames that may require removal to create adequate clearance. Laundry rooms are often in narrow hallways or closets that require careful maneuvering. Knowing the path in advance prevents the situation where a 200-pound machine gets stuck at a corner with no good options.
Washers and dryers should be among the last items loaded onto the truck, positioned against the cab wall standing fully upright — never on their sides. Loading them upright prevents compressor and drum damage and makes unloading at the new home more straightforward. Secure both machines with ratchet straps to the truck's wall anchor points so they cannot shift during transit. Place moving blankets between the machines and any adjacent items to prevent scratching and contact damage during the drive.
Once the appliances are handled, the rest of the laundry room packs out relatively quickly. The main considerations are containing liquids, managing shelving and small furniture, and keeping laundry supplies organized so you can find them quickly at your new home.
Any liquid laundry products you are taking — detergent, softener, stain remover — should be sealed with their original caps reinforced with tape and placed upright in a plastic bin with a lid, not a cardboard box. A single liquid detergent cap that works loose on the truck can ruin an entire box of belongings. The plastic bin contains any leakage and keeps the weight off the cardboard. Pack liquids in their own dedicated bin rather than mixing them with dry goods or other laundry supplies.
Wire shelving units, wall-mounted folding tables, and freestanding laundry carts should be fully disassembled before moving day. Keep all screws, brackets, and fasteners together in a labeled zip-lock bag taped to the item they belong to. Photograph the assembled state of any shelving before you take it apart — this makes reassembly at the new home significantly faster and eliminates guesswork.
The first thing most households need after a move is clean laundry. Pack a small kit — one detergent pod container or small bottle, dryer sheets, and any fabric softener you use — in your first-day essentials bag or box so that you can run a load as soon as the machines are connected, without having to search through boxes to find supplies. Label this box clearly and keep it accessible on the truck.
Reconnecting the washer and dryer at your new home follows the disconnection steps in reverse, with a few additional things to verify before you run the first load. Check that the water supply valves in the laundry area of your new home are functional and fully closed before connecting hoses. Install new rubber washers in the ends of the inlet hoses if the existing ones are worn — this is a two-minute step that prevents slow leaks at the connection points. For gas dryers, verify that the gas line and shutoff valve at the new home match your dryer's connection type before attempting reconnection, and confirm the connection is secure before turning the gas on.
Before running the first full load, run a short test cycle on the washer and watch the connection points carefully for any dripping. Check that the drain hose is properly secured in the standpipe and that it cannot come free during the cycle. For the dryer, check that the vent duct is properly connected and that the vent path exhausts correctly — a dryer venting into an enclosed space is a moisture and fire hazard. Once both machines have completed a test cycle without incident, your laundry room is functional and one of the most important rooms in your new home is back in service.
It is strongly recommended. Gas appliance disconnection involves closing a supply shutoff valve and removing a flexible gas connector from a live gas line — a process that, if done incorrectly, can result in a gas leak. If you have specific experience with gas appliances, you may be comfortable handling this yourself, but for most people this is the one step in a laundry room move worth paying a qualified technician to perform. Your moving company may be able to refer you to an appliance technician, or you can contact a local plumber or HVAC technician who works with gas lines. Reconnection at the new home should also be handled by a qualified professional.
Transit bolts — sometimes called shipping bolts or drum bolts — are fasteners used to lock a washing machine's drum in a fixed position during transport. They are included with new front-load washers to prevent the suspended drum from moving during shipping, which can damage the suspension springs and bearings. If you still have the original bolts from when your machine was purchased, they should be reinstalled before moving the machine. If you do not have them, contact the manufacturer with your model number — replacement transit bolts are often available as service parts. For top-load washers, transit bolts are less common, but placing folded towels inside the drum to reduce internal movement during transit is a reasonable precaution.
For a washing machine, you can typically run a test cycle as soon as it is reconnected and level, as long as the inlet hoses are securely connected and the supply valves are open. Watch the connection points during the first cycle for any dripping. For a dryer — especially a gas dryer — wait until the gas connection has been confirmed secure by a qualified technician before running any cycle. For an electric dryer, plug in and run a short test cycle to confirm the heating element and drum function normally. If either machine was stored or transported in cold temperatures, bringing it to room temperature before use is a reasonable precaution.
Moving a washing machine on its side is not recommended and should be avoided if at all possible. Washing machines are designed to sit and operate upright, and the internal suspension components — springs, bearings, and counterweights — can be stressed or damaged when the machine is laid on its side during transit. If a washing machine must be tilted to navigate a doorway or staircase, keep the tilt minimal and brief. Once the machine is on the truck, return it to a fully upright position and secure it with ratchet straps. If you are unsure whether your specific machine can tolerate any tilting, check the owner's manual for transit guidelines.
Dryer vent duct compatibility varies by home — the vent port on your dryer and the wall or floor exhaust opening in your new laundry area may not be the same size or in the same position as your previous home. Before moving day, measure your dryer's vent port diameter and find out the vent configuration in your new home's laundry area if possible. Flexible aluminum vent duct and duct connectors in standard sizes are available at hardware stores and are relatively inexpensive. If the vent path in your new home is significantly different from what you had before — for example, if the new home requires a longer duct run or a different exit direction — a dryer vent installation specialist or HVAC technician can help you configure a safe and code-compliant vent path before you run the first load.
Whether you’re moving a home, apartment, office, or just a few heavy items, We Haul Nashville is ready to help make the process easier.