
Written by:
Pierce J.
Published:
July 13, 2026
Learn how to move a nursery safely — from disassembling cribs and protecting delicate décor to packing baby gear and setting up the new room fast.
Knowing how to move a nursery is something most parents do not think through carefully until they are standing in front of a fully assembled crib they have not touched since the day it was built, a glider that barely fit through the door the first time, a dresser with a changing topper bolted on, and three bins of infant gear sorted in a system that only one parent fully understands. The nursery looks like a simple room — smaller than the master, less furniture than the living room — but it is one of the most emotionally loaded and practically demanding spaces to relocate when it is not approached with a clear plan. Get it wrong and you are unpacking at your new home without a safe sleep space for the baby, missing hardware for the crib, or a freshly painted accent wall that got scratched on the way out the door.
This guide walks you through how to move a nursery from start to finish: how to audit what is worth moving versus replacing, how to disassemble and protect a crib correctly, how to handle a glider or rocking chair, how to pack the dresser and changing station, how to manage all the small gear and accessories that accumulate in a baby's room, and how to get the nursery set up and functional at your new home before you need it. Whether your nursery is a fully decorated room with custom furniture, a gallery wall, a fitted wardrobe, and a sound machine setup, or a shared space with a crib, a small dresser, and a basket of essentials, these steps will carry you through the move without the chaos and damage that nursery moves so often produce.
Before you disassemble a single piece of furniture or pack a single drawer, spend real time evaluating everything in the nursery. Baby gear accumulates faster than almost any other category of household items — gifts from family, products purchased in anticipation of needs that turned out to be different, gear outgrown in a matter of weeks, and duplicates that arrived before anyone realized they already had the same thing. Moving all of it by default costs money in labor, truck space, and packing materials. The audit is where you recover that cost before the truck ever arrives.
The crib, the glider, the dresser, and the changing table are the anchor pieces of any nursery. Before committing to moving each one, evaluate honestly. A convertible crib in excellent condition that will transition to a toddler bed is worth moving carefully. A basic crib that has seen heavy use and has worn hardware is worth pricing against a replacement. A glider that reclines smoothly and is free of structural wobble is worth protecting for the move. One with a cracked rocker rail or a mechanism that sticks is a candidate for replacement — buying a used glider at your destination often costs less than transporting a compromised one. The changing dresser topper is the most frequently forgotten piece: confirm that the mounting hardware is still intact and that the safety straps are functional before deciding to move it rather than replace it.
Nurseries contain a remarkable volume of small items — swaddles, sleep sacks, monitors, white noise machines, nightlights, mobile attachments, humidifiers, extra mattress pads, and bins of clothing sized for an infant who has already moved into the next size. Before packing any of it, sort by current use. What does your child actually need in the first week at the new home? What has been outgrown and can be donated, sold, or given to someone who needs it now? Moving everything without filtering it is one of the most common and most avoidable moving mistakes. The nursery is a room where editing before the move saves significant time and effort on the other end.
Any move is a practical opportunity to check the safety status of nursery products you may have stopped thinking about actively. Cribs, sleep positioners, infant rockers, and baby monitors have all been subject to safety recalls in recent years. Before packing any nursery item and transporting it to your new home, take ten minutes to verify that the product has not been recalled through the Consumer Product Safety Commission's recall database. Moving a recalled item to a new home and continuing to use it is a risk that is easy to avoid at this stage.
The crib is the most important piece of furniture in the nursery and the one most likely to be damaged in a move when it is not disassembled and packed correctly. Most cribs are designed to be assembled in place — they are not meant to be carried through doorways as a fully assembled unit, and attempting to do so almost always results in damage to the joinery, stripped hardware, or damage to the walls and door frames.
Take clear photographs of the assembled crib from multiple angles — front, back, sides, and close-ups of any joinery that is not immediately intuitive — before you touch a single bolt. These photos are your reassembly reference at the new home, and they cost you nothing to take now but are genuinely useful when you are trying to reassemble a crib at ten o'clock at night with a tired baby nearby.
Remove the crib mattress and set it aside. Strip all bedding and pack it separately in a labeled bag. Then begin working through the crib frame methodically — remove the side rails, the end panels, and any conversion rails that may have been installed. As you remove each bolt, screw, and fastener, place them immediately into a clearly labeled zip-lock bag. Tape the hardware bag directly to the largest panel of the crib so that it cannot be separated from the furniture in transit. Missing crib hardware is one of the most frustrating post-move problems because replacement fasteners for specific crib models are often difficult to source quickly.
Wrap each crib panel in moving blankets or furniture pads. Pay particular attention to the corners, which are the most vulnerable to impact damage during transit. Secure wrapping with stretch wrap rather than tape applied directly to the wood or painted surfaces, as tape residue can damage finished surfaces. Stack panels flat in the truck rather than leaning them against other items, which creates pressure points that can crack or warp the panels over a long transit.
The crib mattress should be sealed in a mattress bag before loading. A standard twin-size mattress bag will fit most crib mattresses. This protects the mattress from moisture, dust, and contact with other items in the truck. Do not place heavy items on top of the crib mattress in transit — a compressed mattress may not recover its original firmness, which affects safety for infant sleep.
A glider is one of the most awkward pieces of nursery furniture to move because of its shape, its weight distribution, and its mechanism. Most gliders have a separate ottoman that operates on the same gliding mechanism, and both pieces need to be handled carefully to avoid damage to the track system underneath.
The glide mechanism on most nursery gliders is located underneath the seat and chair base. Before moving, wrap the base of the chair with moving blankets to protect the mechanism housing from impact. If the ottoman has a connecting piece or a shared track assembly, wrap it separately. Avoid dragging a glider across any floor surface — the feet and base are not designed for dragging weight and will be damaged by it. Use furniture sliders to move the glider to a dolly or to the truck.
Stretch wrap applied directly over the upholstered surfaces of a glider protects the fabric from dirt, scuffing, and moisture during transit without the adhesive contact that can pull at fabric fibers. Wrap the entire chair snugly in stretch wrap, then add a moving blanket layer over the top for padding. Secure the blanket with an additional layer of stretch wrap rather than tape. For a glider with removable cushions, pack the cushions separately in a large bag or box labeled clearly to match the chair.
The nursery dresser with a changing topper is one of the most practically important pieces to move correctly, because it often serves as the primary organization system for the nursery and needs to be functional quickly after the move.
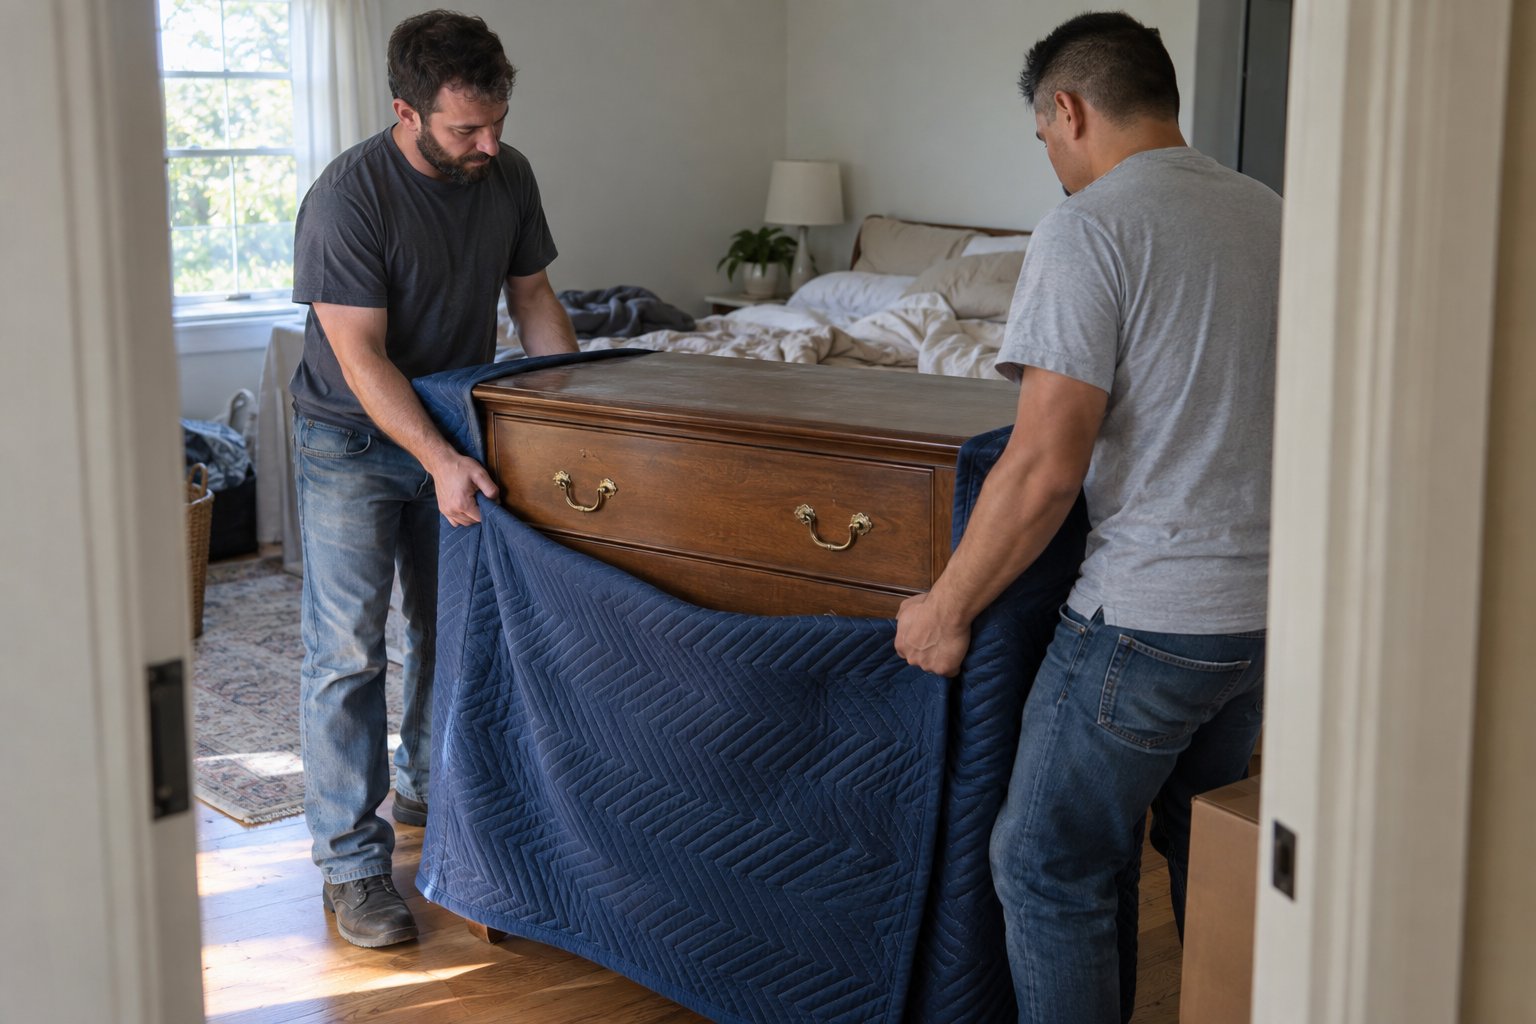
Most changing toppers are mounted to the dresser top with safety straps or bolts. Remove the topper completely before moving the dresser — do not attempt to move the dresser with the topper attached, as the added height changes the center of gravity and makes the piece significantly more unstable on a dolly or on stairs. Remove the changing pad and the topper as separate pieces, wrap each one individually, and pack the mounting hardware in a labeled bag taped to the topper.
Remove all clothing, accessories, and items from every drawer before moving the dresser. Drawers left full during a move put stress on the drawer slides and on the dresser frame, and items inside can shift and cause damage. Pack clothing into boxes or bags labeled by category — newborn, 0–3 months, 3–6 months, and so on — so that unpacking at the new home is organized rather than chaotic. Remove each drawer entirely from the dresser if possible, wrap it individually, and transport the shell and the drawers as separate pieces for maximum protection.
The final category of nursery items is also the most time-consuming to pack well: the monitors, humidifiers, white noise machines, nightlights, mobiles, wall décor, framed prints, and dozens of small accessories that make the nursery functional and personal.
Baby monitors, especially video monitors with separate camera units, should be packed in their original boxes if you still have them. If the original packaging is gone, wrap each component in packing paper and pack them in a small box with additional cushioning. Label the box clearly as fragile electronics and keep it with your essential items rather than buried in the truck, so that the monitor is accessible and functional the first night at your new home.
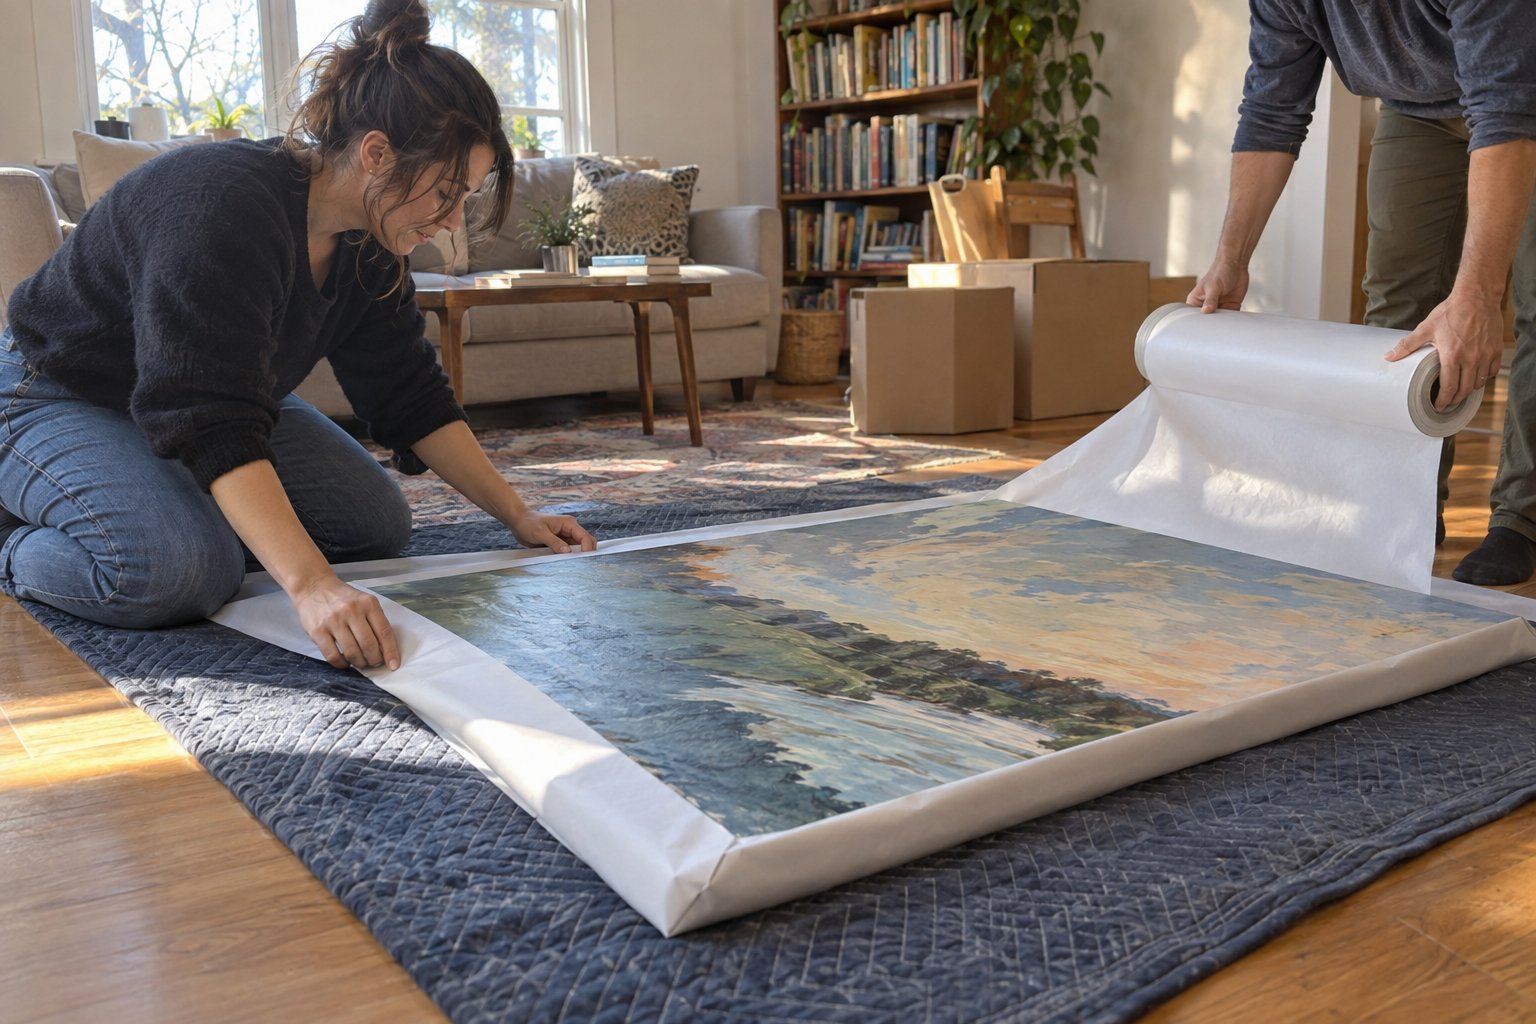
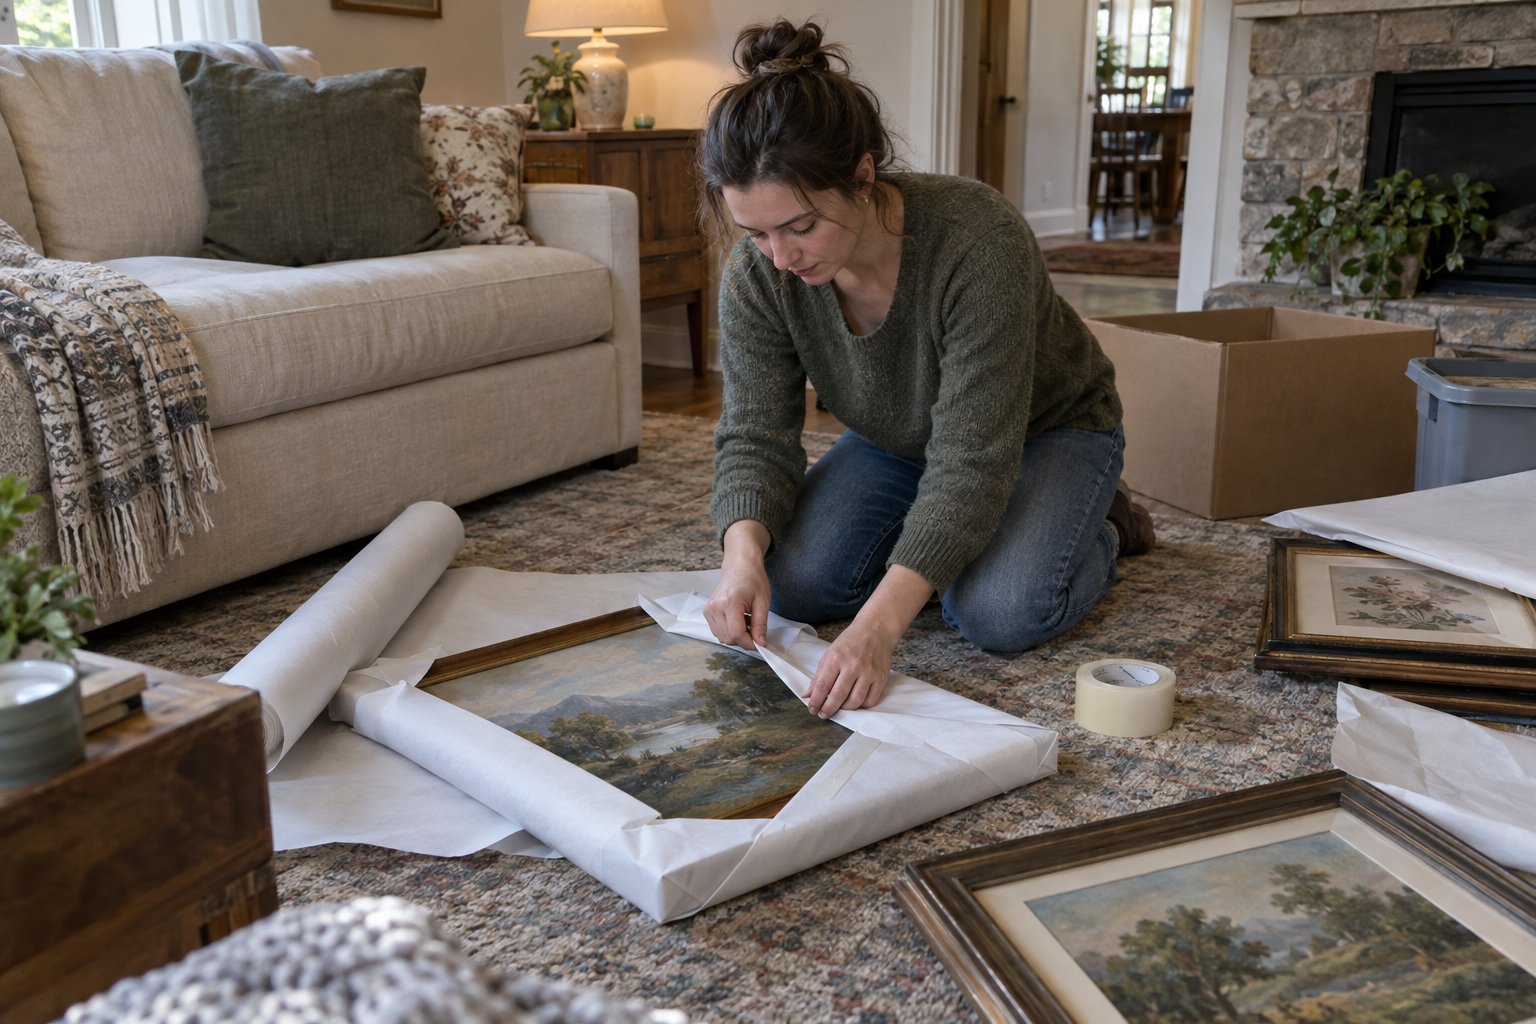
Nursery walls often have more decoration per square foot than almost any other room — framed prints, name signs, growth charts, decorative letters, and gallery walls that took significant effort to arrange. Remove each piece carefully, wrap framed items in packing paper followed by bubble wrap, and store them upright in a picture box or between layers of foam. Do not stack framed items flat under heavy boxes. For gallery wall arrangements, take a photograph of the full wall before removing anything so that you have a visual reference for reinstallation at the new home.
Baby clothing is compact but accumulates to significant volume. Pack current-size clothing in an accessible bag or box that will travel with you in the vehicle rather than the truck, so that you have what you need immediately upon arrival. Off-season and outgrown clothing can go into clearly labeled boxes on the truck. Nursery textiles — crib sheets, swaddles, blankets, and changing pad covers — pack most efficiently in vacuum storage bags, which reduce volume significantly and protect fabrics from moisture.
Unlike almost every other room in your new home, the nursery has a hard deadline: it needs to be functional before the baby sleeps there. Prioritize nursery setup above all other rooms except the bathrooms, and ideally complete it before the first night in the new home.
Reassemble the crib first using your photographs and the labeled hardware bags as your reference. Install the crib mattress and make it up with a fitted sheet. Set up the monitor and confirm it is working before you need it. Plug in the white noise machine and the nightlight. The glider and dresser can follow once the sleep space is safe and confirmed. Everything else in the nursery — décor, wall art, the gallery wall — can wait until the following day or the following week. The priority is a safe, calm space for the baby to sleep. Everything decorative comes after that.
Yes, in almost every case. Cribs are assembled in place and are not designed to be moved through doorways, down hallways, or onto a moving truck as a fully assembled unit. Attempting to move an assembled crib almost always results in damage to the joinery, stripped hardware, or scratched walls. Disassemble the crib completely, place all hardware into a labeled zip-lock bag, tape the hardware bag directly to the largest panel, and photograph the assembled crib from multiple angles before you begin so that reassembly at your new home is straightforward.
Seal the crib mattress inside a mattress bag before loading it onto the truck. A standard twin-size mattress bag will fit most crib mattresses and protects against moisture, dust, and contact with other items. Do not place heavy boxes or items on top of the crib mattress in transit — compression during a move can affect the firmness and structural integrity of the mattress, which matters for infant sleep safety. Keep the sealed mattress flat and protected throughout transport.
Start the nursery audit and packing process with a thorough sort of baby gear and clothing. Identify what your child currently uses and needs, what has been outgrown and can be donated or sold, and what is genuinely essential for the first week at the new home. Pack the must-have items — current clothing, monitor, white noise machine, crib bedding — in a bag or box that travels with you rather than on the truck. Furniture disassembly and packing comes after the audit so that you are not packing things you should have edited out.
Yes, and a move is an ideal time to do it. Any nursery product — cribs, sleep positioners, infant rockers, monitors, changing tables — that has been in place for a year or more should be checked against the Consumer Product Safety Commission's recall database before you pack and transport it to your new home. Moving a recalled product and continuing to use it is a risk that is simple to avoid during the packing process when you are already handling each item individually.
Prioritize the nursery above every other room except the bathrooms on moving day. Reassemble the crib first using the photographs you took before disassembly and the labeled hardware bags. Install and make up the crib mattress. Set up the baby monitor and confirm it is functioning. Plug in the white noise machine and nightlight. The glider, dresser, and décor can follow once the sleep space is confirmed safe and ready. Wall art, gallery arrangements, and decorative finishing can wait until the following day — the hard deadline is a safe place for the baby to sleep the first night.
Whether you’re moving a home, apartment, office, or just a few heavy items, We Haul Nashville is ready to help make the process easier.