Written by:
Pierce J.
Published:
July 18, 2026
Moving a home theater? Learn how to safely disassemble, pack, and relocate your AV equipment, projector, screen, seating, and wiring without damage.
Knowing how to move a home theater is something most people do not think through carefully until they are standing in front of a 120-inch projector screen mounted to the ceiling, a rack of AV components wired together in a way that only the person who set it up fully understands, a subwoofer that weighs more than most pieces of bedroom furniture, and a row of tiered theater seats that were carried into the room in pieces and assembled inside. A home theater looks like an electronics move on the surface — after all, it is just screens, speakers, and wires. Get close enough to start disconnecting it and the picture changes fast. Proprietary cable runs disappear into walls, projectors require factory packaging or they crack in transit, and the hours spent calibrating a surround sound system are gone the moment a receiver gets jolted without proper padding. Understanding how to move a home theater means approaching it with a real plan before a single cable comes out of the wall.
This guide walks you through how to move a home theater from start to finish: how to document and audit your system before you disconnect anything, how to pack AV components, displays, and projectors so they survive the road, how to manage speaker systems and subwoofers, how to disassemble and move theater seating, and how to get your system reconnected and recalibrated at your new home without weeks of troubleshooting. Whether your home theater is a fully dedicated room with acoustic wall panels, a 4K laser projector, a Dolby Atmos speaker array, and three rows of motorized recliners, or a large living room with a mounted flat-panel TV, a soundbar, and a media console stacked with components, these steps will carry you through the move without the damage, lost cables, and setup nightmares that home theater moves so often produce when they are not planned carefully.
Before you disconnect a single cable or pull a single component off the rack, spend real time evaluating everything in your home theater. A move is the best possible opportunity to take honest stock of your system — what is worth protecting carefully, what can be replaced affordably, and what infrastructure is built into the room in a way that will not be coming with you. That distinction will shape every packing decision and every conversation you have with your moving crew.
A home theater system is only as good as its ability to be reassembled correctly. Before you touch a single connection, photograph every inch of it. Photograph the back of every component showing exactly which cables go into which ports. Photograph the cable runs along the walls, behind the rack, and under the floor if they are surface-mounted. Photograph the speaker placements from multiple angles, including the ceiling for any Atmos or in-ceiling speakers. Photograph the projector mount, the screen housing, and the seating arrangement. These images are your reassembly map. Without them, you are guessing when you get to the new home, and even experienced AV installers will tell you that guessing costs hours.
Not every piece of a home theater system carries the same risk profile. A $30 HDMI cable is not the same packing situation as a $4,000 laser projector or a vintage AV receiver you have had for fifteen years and could not easily replace. Sort your system into tiers. Projectors, high-end receivers, processors, and large-format displays are your highest-priority items — they need original packaging when possible, extra padding when not, and careful handling at every stage. Streaming devices, universal remotes, cable boxes, and simple passive components can travel in padded boxes without as much individual attention. Knowing the tiers before you start packing prevents you from wasting premium materials on gear that does not need it and from under-protecting the equipment that does.
Many home theaters include elements that were installed with the room in mind and will not easily survive removal — in-wall or in-ceiling speaker wiring, acoustic foam panels adhered directly to drywall, built-in cabinetry, and permanently mounted screens. Walk through the room and make a clear decision about each of these items before moving day. Built-in elements that cannot come down without significant wall damage may need to be left behind. Mounted equipment that is coming with you — projectors, wall-mounted TVs, speaker brackets — needs to be scheduled for careful removal, and any wall damage needs to be addressed before you hand back the old space.
The electronics at the heart of a home theater system are sensitive to shock, vibration, and static — and many of them are no longer manufactured, making damage a serious financial and practical problem. Packing them correctly is one of the highest-leverage things you can do before moving day.
Original manufacturer packaging is engineered specifically for the dimensions and fragility of the component it came with. If you have kept original boxes for your receiver, processor, projector, or display, use them. The molded foam inserts are far more protective than anything you can improvise in the field. If you have original boxes but no longer have the foam inserts, line the box with several layers of bubble wrap and fill all remaining space with crumpled packing paper so the component cannot shift in any direction.
For components without original boxes, use double-walled moving boxes sized as closely as possible to the component itself. Wrap each piece in anti-static bubble wrap — not standard bubble wrap, which can build up a static charge — before placing it in the box. Pad all six sides with at least two inches of cushioning material. Fill every void with crumpled paper or foam peanuts so the component is suspended in the center of the box and cannot contact the walls if the box is dropped. Label every box clearly on multiple sides: FRAGILE, THIS SIDE UP, and a description of the contents.
Label every cable before it comes out of any component. A simple piece of masking tape with a written label — "receiver left subwoofer out," "projector HDMI 1," "zone 2 speaker right" — takes thirty seconds per cable and saves hours of troubleshooting at the new home. Coil cables loosely using the over-under method to avoid internal wire stress, secure each coil with a velcro strap or twist tie, and pack cables in labeled zip-lock bags grouped by component. Do not let cables travel loose in a box with components — they shift, scratch, and tangle in ways that are genuinely maddening to unsort on the other end.
A projector and screen are among the most technically demanding items in a home theater move. Both involve precision optics and mechanical components that do not tolerate mishandling, and both are almost always more awkward to remove and transport than they appear.
Before removing a ceiling-mounted projector, photograph its exact position and the orientation of the mount from multiple angles. Most projector mounts require the projector to be aimed and leveled precisely relative to the screen — you will want to recreate this at the new home. Remove the projector from the mount carefully with two people: one to support the weight and one to manage the fasteners. Projector lenses are the most fragile component — if the projector has a removable lens, remove it separately and pack it in its own padded case. Replace the lens cap before packing the projector body. If you have the original projector box and foam inserts, use them without exception. If not, the projector needs a rigid double-walled box, full foam or bubble wrap coverage on all sides, and a FRAGILE label. Do not lay a projector on its side unless the manufacturer explicitly states it is safe to do so.
Fixed-frame projection screens are large, awkward, and surprisingly easy to damage in transit — the screen material itself scratches, dents, and creases if handled carelessly. Remove the screen fabric from the frame if the design allows, roll it carefully on a protective tube, and pack it in a long flat box or tube. The aluminum frame typically disassembles into sections — wrap each section individually in moving blankets or bubble wrap and band them together for transport. Motorized retractable screens should be fully retracted before any attempt at removal; consult the manufacturer's instructions before dismounting, as some motorized screens are sensitive to being laid flat or inverted.
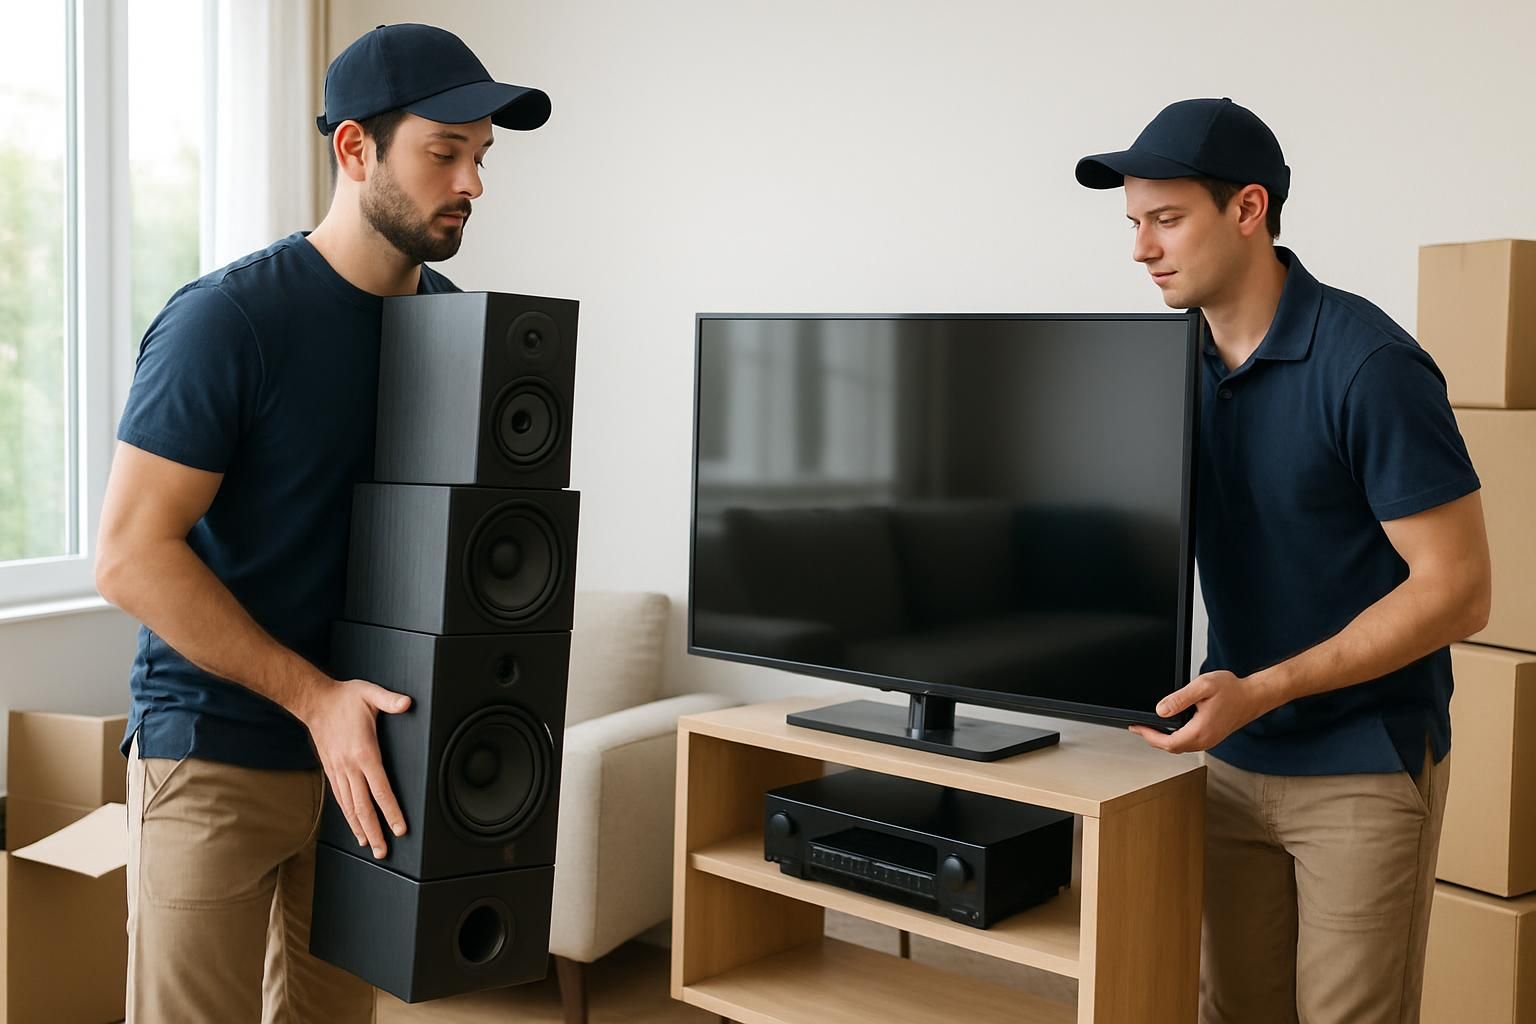
A surround sound or Atmos speaker system can include a dozen or more individual speakers ranging from small satellite units to a subwoofer that weighs sixty pounds or more. Each category needs a different approach.
Smaller satellite, surround, and ceiling speakers are fragile at the cone — the paper or fabric driver surface that produces sound. Never pack speakers face-down without protecting the cone, and never let anything press against the cone during transit. If original boxes are available, use them. Otherwise, wrap each speaker in several layers of bubble wrap with special attention to protecting the front face, and pack them in snug boxes with all voids filled. Remove any detachable speaker grilles and pack them separately — grilles flex and crack when subjected to pressure in a box with a heavier component.
A powered subwoofer is heavy, has a large driver cone, and typically has a port or passive radiator on one face that cannot absorb impact. Subwoofers almost always have original boxes that are worth keeping precisely because of the challenge of improvising a safe packing solution. If you have the original box and foam, use it. If not, a double-walled box lined with foam sheets on all six sides is the minimum — fill all remaining space firmly so the subwoofer cannot move during transport. Two-person lift on all but the smallest subwoofers. Do not stack anything on top of a subwoofer box in the truck.
If you are removing in-wall or in-ceiling speakers from the current home to install in the new one, this is a job that benefits from professional AV help. The speakers themselves are typically straightforward to remove — cut power, disconnect speaker wire leads, unscrew the mounting flange — but the wire runs left behind need to be capped and made safe. At the new home, new runs will likely need to be pulled unless you are fortunate enough to have a similarly configured room. Pack removed in-wall speakers the same way as satellite speakers, and label the speaker wire leads before disconnecting them.
Dedicated home theater seating — tiered rows of motorized recliners, loveseat-style power seats, or custom sectional configurations — presents its own set of moving challenges. This furniture is heavy, often modular, almost always wider than a standard doorway when assembled, and frequently has electrical components built into the seat mechanisms.
Most theater seating is designed to be disassembled into individual seat sections that can be moved through standard doorways. Identify the connection points between sections — usually bolts or brackets at the base — and disassemble fully before attempting to move anything. Moving assembled theater seating through a doorway is the number one cause of wall and door frame damage in home theater moves. Take the time to reduce each section to its smallest transportable unit.
Leather and fabric upholstery on theater seating scratches and scuffs in transit if it contacts bare walls, door frames, or other furniture. Wrap each seat section in moving blankets and secure with stretch wrap before carrying it out of the room. For powered recliners, locate the power cable or control cable for each section and disconnect it carefully — these cables often run under the seat base in ways that are easy to miss. Coil and label each cable. Do not attempt to move a powered recliner with the footrest extended — retract all moving parts fully before wrapping and transporting.
Many dedicated home theaters include acoustic treatments — foam panels, fabric-wrapped bass traps, diffusers — that were installed to control sound reflections and improve audio performance in that specific room. These are worth evaluating carefully before moving day.
Acoustic foam panels adhered directly to drywall rarely survive removal intact and are usually not worth the effort to salvage. Fabric-wrapped panels mounted on a French cleat or Z-clip system come down cleanly and can be reinstalled in the new room — wrap them in moving blankets and pack flat. Bass traps in room corners are almost always permanently installed. If acoustic treatment matters to you in the new home, budget for a fresh installation rather than trying to salvage what is built into the walls.
Any artwork, framed movie posters, or display cases in the theater should be packed using the same care as any other framed art — corner protectors, glassine or paper facing, and a flat custom-fit box or between two pieces of foam board secured with stretch wrap.
The reassembly phase of a home theater move is where the documentation you created at the start pays off completely. Bring your photos up on a tablet or phone and work through reconnection component by component, using your labeled cables to take the guesswork out of every connection. Set up your AV rack and run cables first, before placing speakers or mounting anything to the walls — it is much easier to route cables in an empty room than to work around furniture and seating that is already in place.
Allow time for recalibration. A surround sound system that was calibrated to a specific room will need to be recalibrated in a new room with different dimensions and acoustic properties. Most modern AV receivers include automated room correction software — run it after everything is connected and in its final position for the best results. A projector will need to be re-aimed, re-focused, and potentially re-keystone-corrected to fit the new screen placement. Budget a full evening for this work rather than expecting everything to sound and look right the moment you power it on.
Without the original box and foam inserts, a projector needs a rigid double-walled cardboard box sized as close to the projector dimensions as possible. Line all six interior faces with at least two inches of foam sheeting or bubble wrap. If the projector has a removable lens, remove it and pack it separately in a padded case. Replace the lens cap on the projector body. Wrap the projector body in anti-static bubble wrap, center it in the box so it does not contact any wall, and fill all remaining space firmly with crumpled packing paper or foam peanuts. Mark the box FRAGILE and THIS SIDE UP on multiple faces. Two people should handle the box at all times — never leave a projector box balanced on a dolly unattended.
Moving a large flat-panel TV without its original box is one of the higher-risk packing situations in a home theater move, but it is manageable with the right approach. The screen is the most vulnerable component — it cannot withstand point pressure, bending, or being laid flat without full support. If possible, obtain a purpose-built flat-panel TV moving box from a moving supply retailer — these are sized for large screens and include foam corner inserts. If no box is available, sandwich the TV between two pieces of rigid foam board or cardboard cut to the full screen size, wrap the assembly in several layers of bubble wrap, and secure firmly. The TV must travel standing upright on its edge, never laid flat. Secure it in the truck so it cannot tip or shift during transport.
Cable management before a home theater move is one of the most time-saving investments you can make. Before disconnecting anything, photograph the back of every component clearly showing which cables go into which ports. As you remove each cable, immediately apply a masking tape flag with a written label identifying both the component and the port — for example, 'receiver HDMI out 1 to projector' or 'zone 2 right speaker.' Coil each cable loosely using the over-under method to avoid internal stress, secure with a velcro strap, and place in a labeled zip-lock bag grouped by component. Pack cable bags inside or immediately alongside the component they belong to so everything arrives together. This process takes more time upfront but prevents hours of troubleshooting on reassembly day.
For a simple system — a flat-panel TV, a soundbar, and a streaming device — DIY reconnection is straightforward. For a full home theater with a projector, multi-zone AV receiver, ceiling speakers, in-wall wiring, and motorized seating, a professional AV installer is worth the investment. An experienced installer will reconnect and recalibrate your system faster and more accurately than most homeowners working from photos and intuition, and they can diagnose any issues that arose during the move before you discover them the hard way during your first movie. If you are also having new speaker wire run in the new room, scheduling an AV installer in advance of moving day ensures the work is done before furniture and seating go in.
Dedicated home theater seating almost never fits through a standard doorway as an assembled unit — the combined width of even a two-seat section typically exceeds a standard 32-inch or 36-inch door opening. The solution is full disassembly into individual seat sections before any attempt to move the furniture. Most theater seating connects at the base with bolts or side brackets — locate these connection points and remove them completely before moving day. Once reduced to individual sections, each seat can be tilted, angled, and carried through a standard doorway by two people. Wrap each section in moving blankets before carrying it out to protect upholstery from door frames. If seating includes power mechanisms, disconnect and coil the power cables for each section before wrapping.
Whether you’re moving a home, apartment, office, or just a few heavy items, We Haul Nashville is ready to help make the process easier.